 Enter the following information to log in as
 root on RT:This exercise will get you configure and manage Request Tracker (RT).
The Request Tracker software has already been installed on your server. You may refer to the RT Install Ansible Playbook in your course Agenda for details on how to install Request Tracker on your own.
This exercise should be done by each person in your group as you will create separate userids on the RT instance your shared srv1 server.
Log in to RT as the root User on your shared srv1 server.
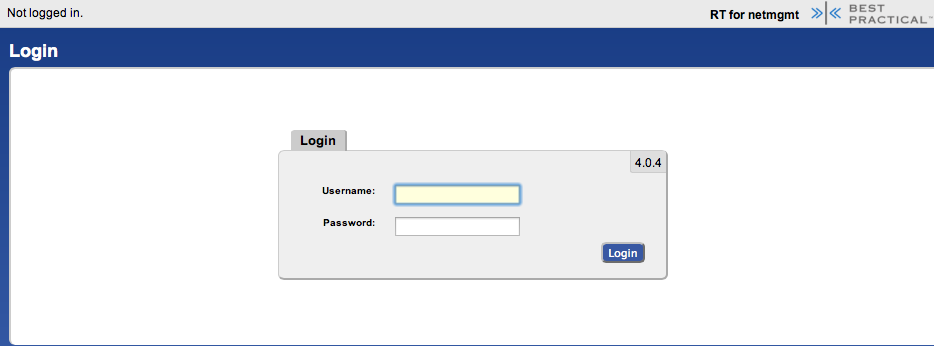
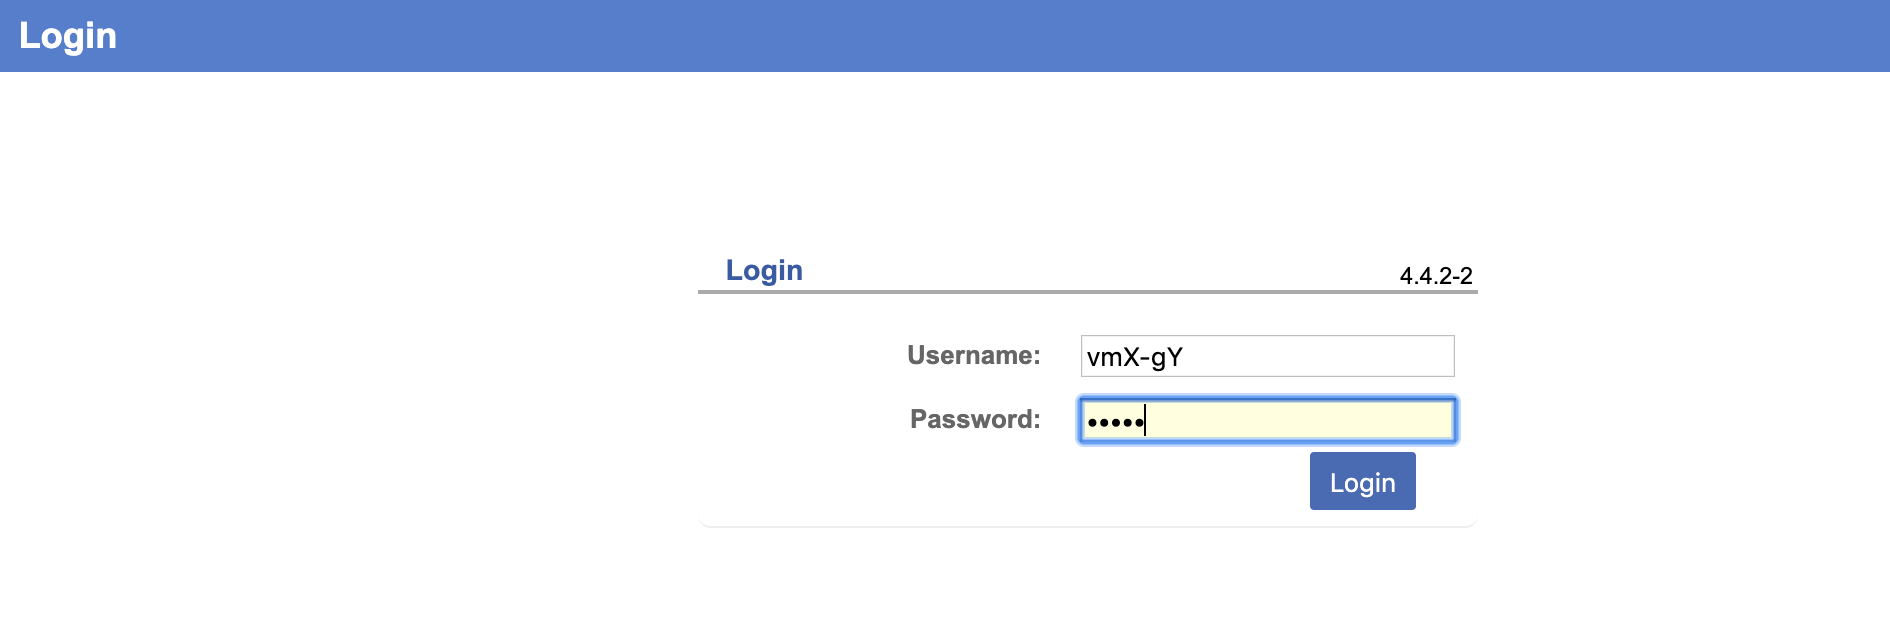
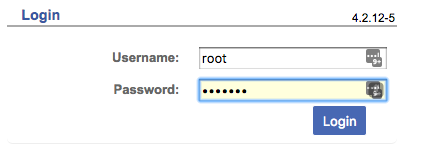
If you go to http://srv1-gY.lab.workalaya.net/rt/ you will see the RT login screen:
Enter the following information to log in as root on RT:
Username: root
Password: !lab#
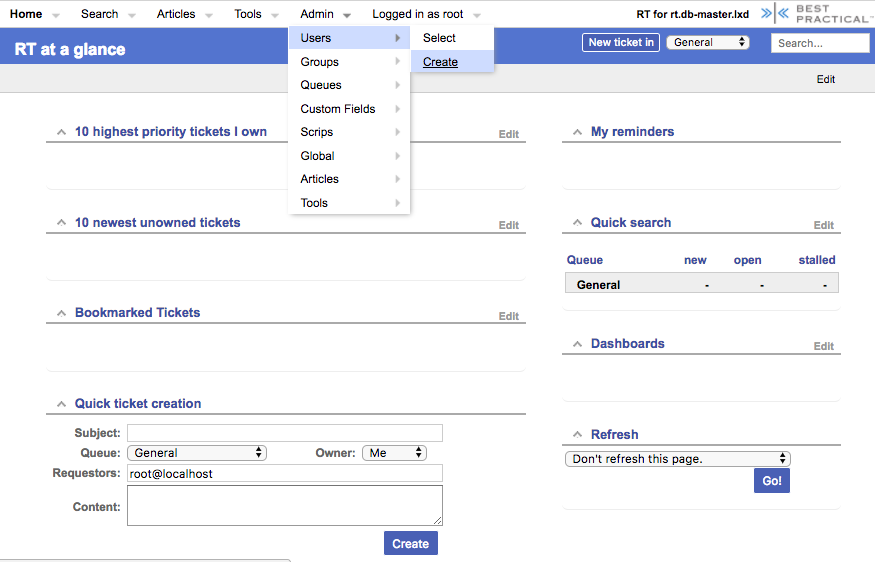
Now that you are logged in we will create a new user for the rest of these exercises. The user you will create is "vmX-gY, where "X" is the number of your VM and "Y" is the number of your group.
On the top of the screen choose Admin => Users => Create and then click on the Create item in the menu.
You will now be presented with the following dialogue. Fill in the fields, and make sure the checkbox Let this user be granted rights is checked. Set your email to lab@vmX-gY.lab.workalaya.net - Replace X with your VM number and "Y" with your group number.
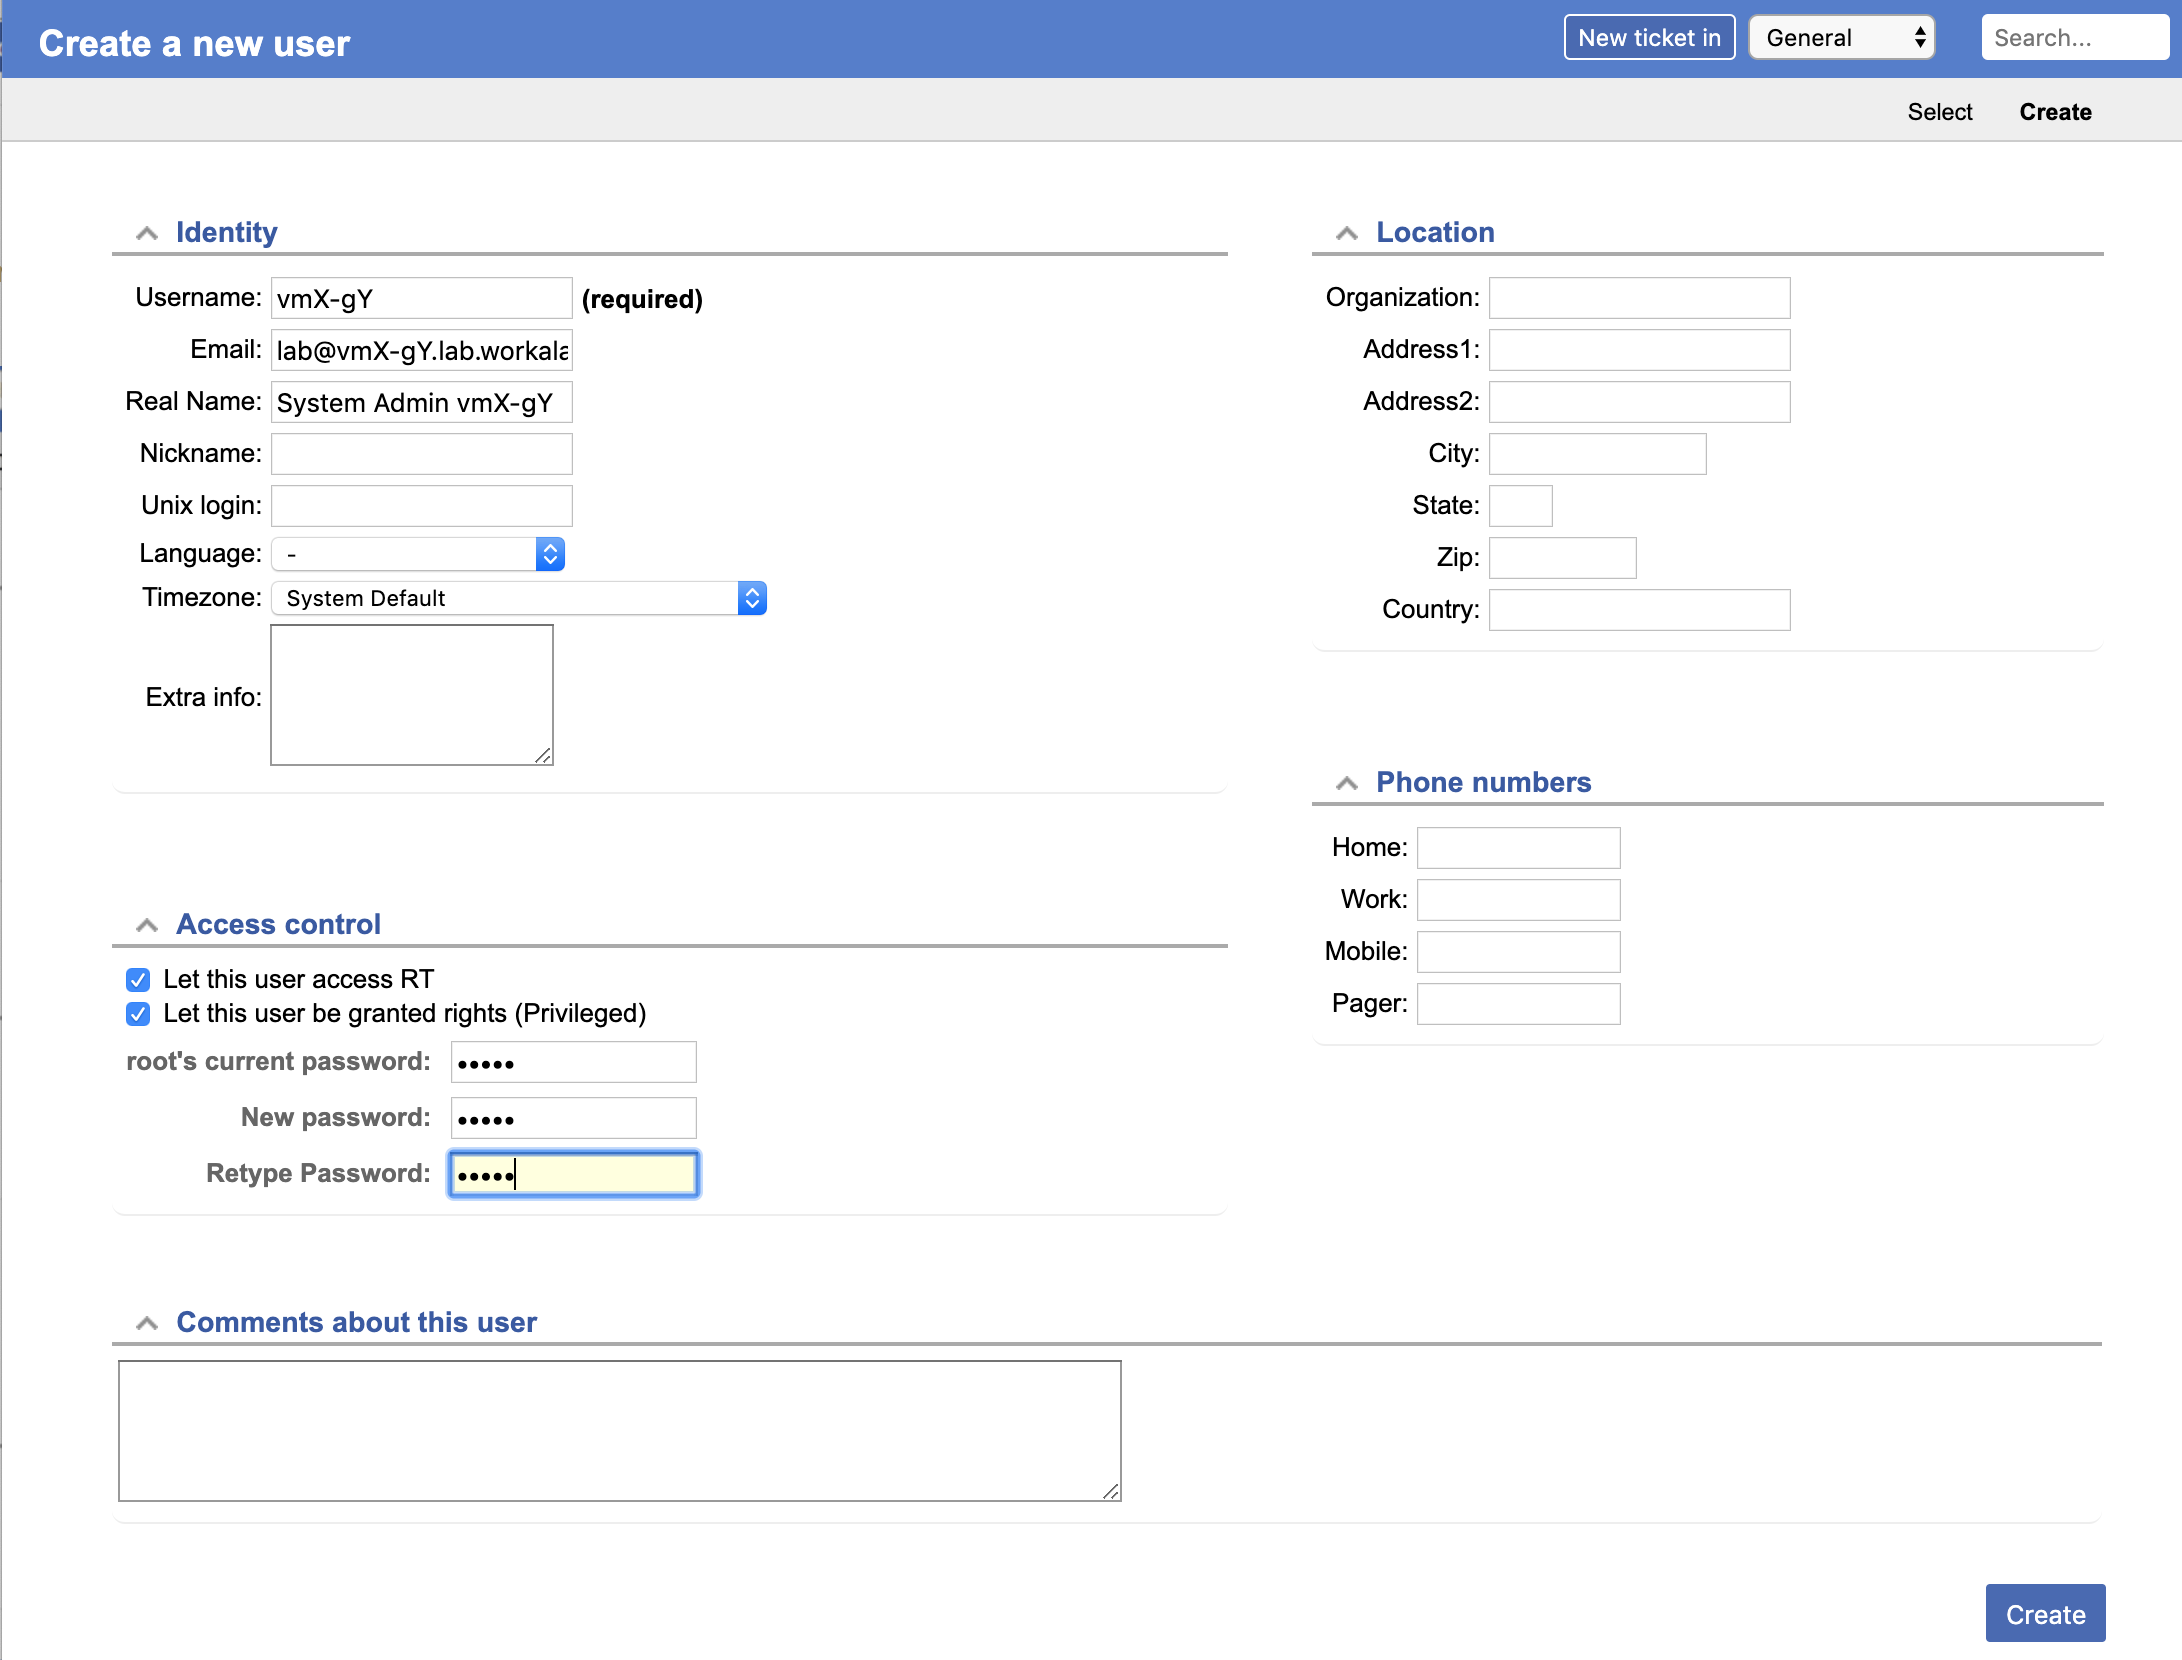
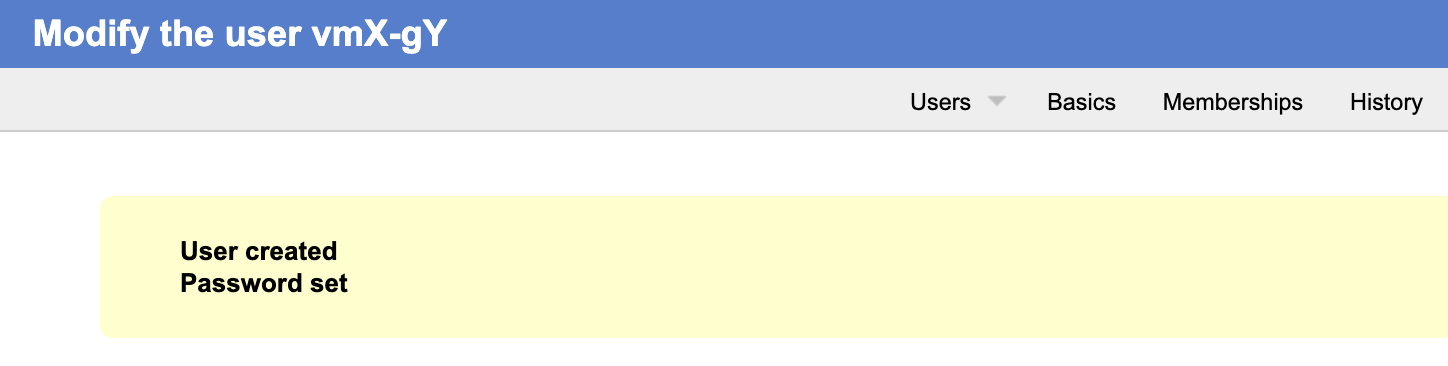
Use the same password for vmX-gY as you are using in class. Be sure you check Let this user be granted rights. Once done, scroll down the page and click on the Create button (bottom right). You should see this:
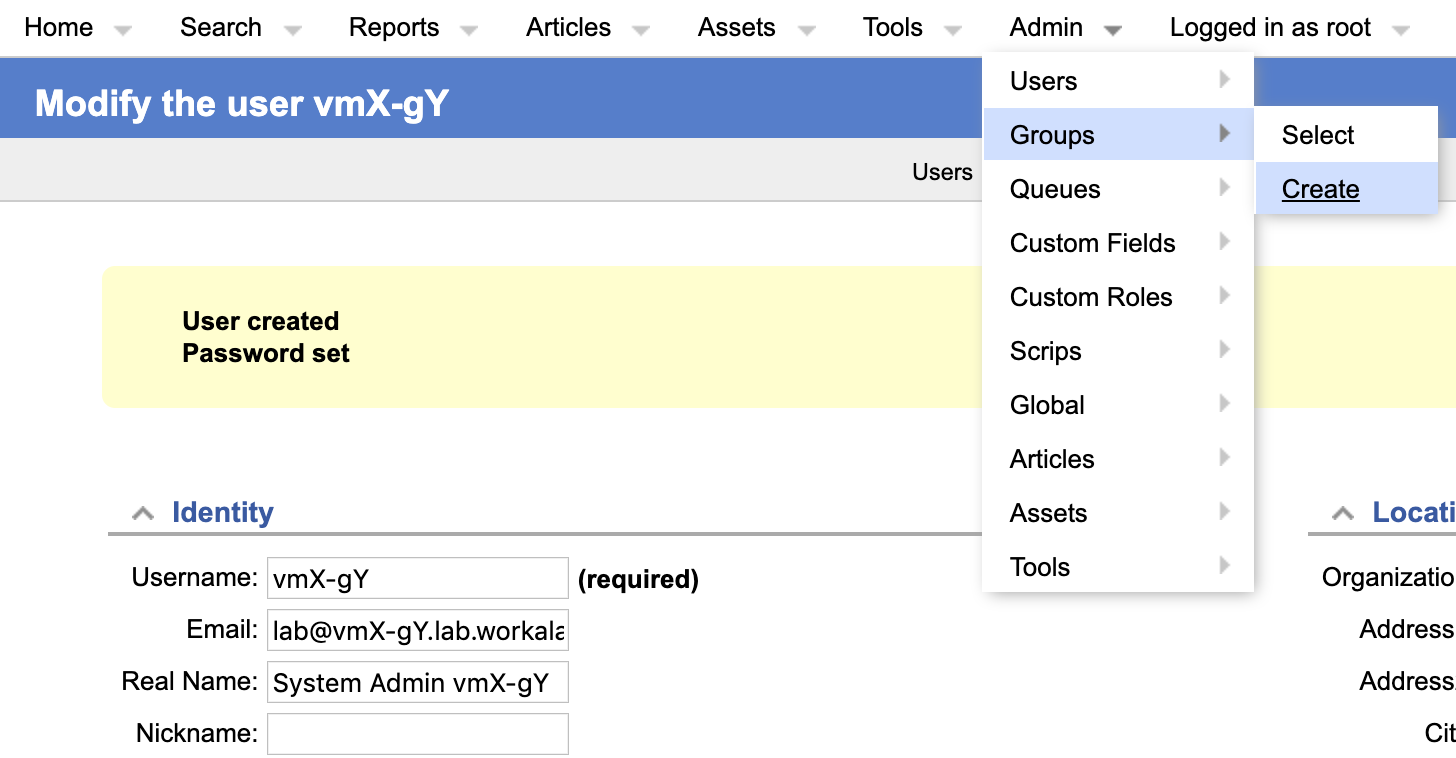
At the top, choose the menu item Admin => Groups => Create
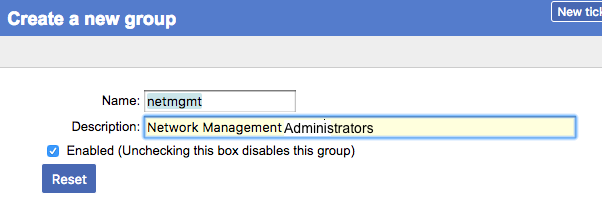
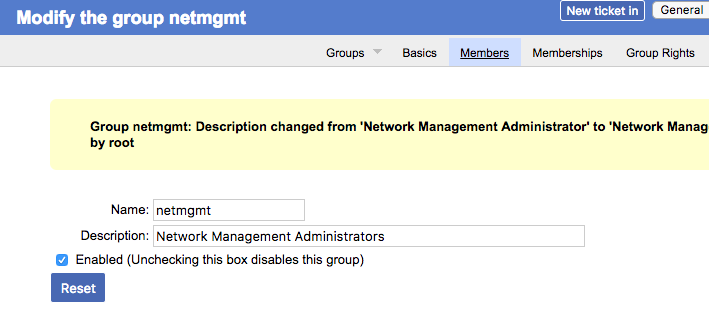
Fill in the name: netmgmt, and add a description, then click on Create
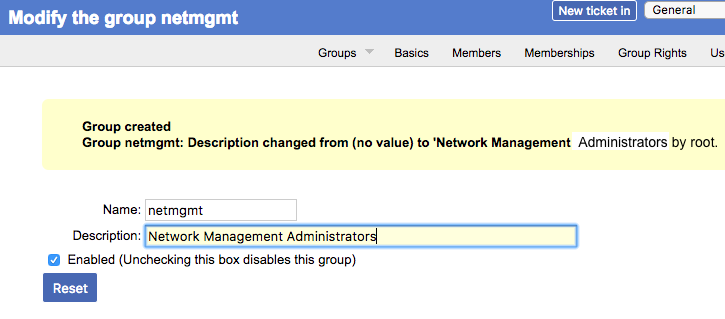
You should see the following result:
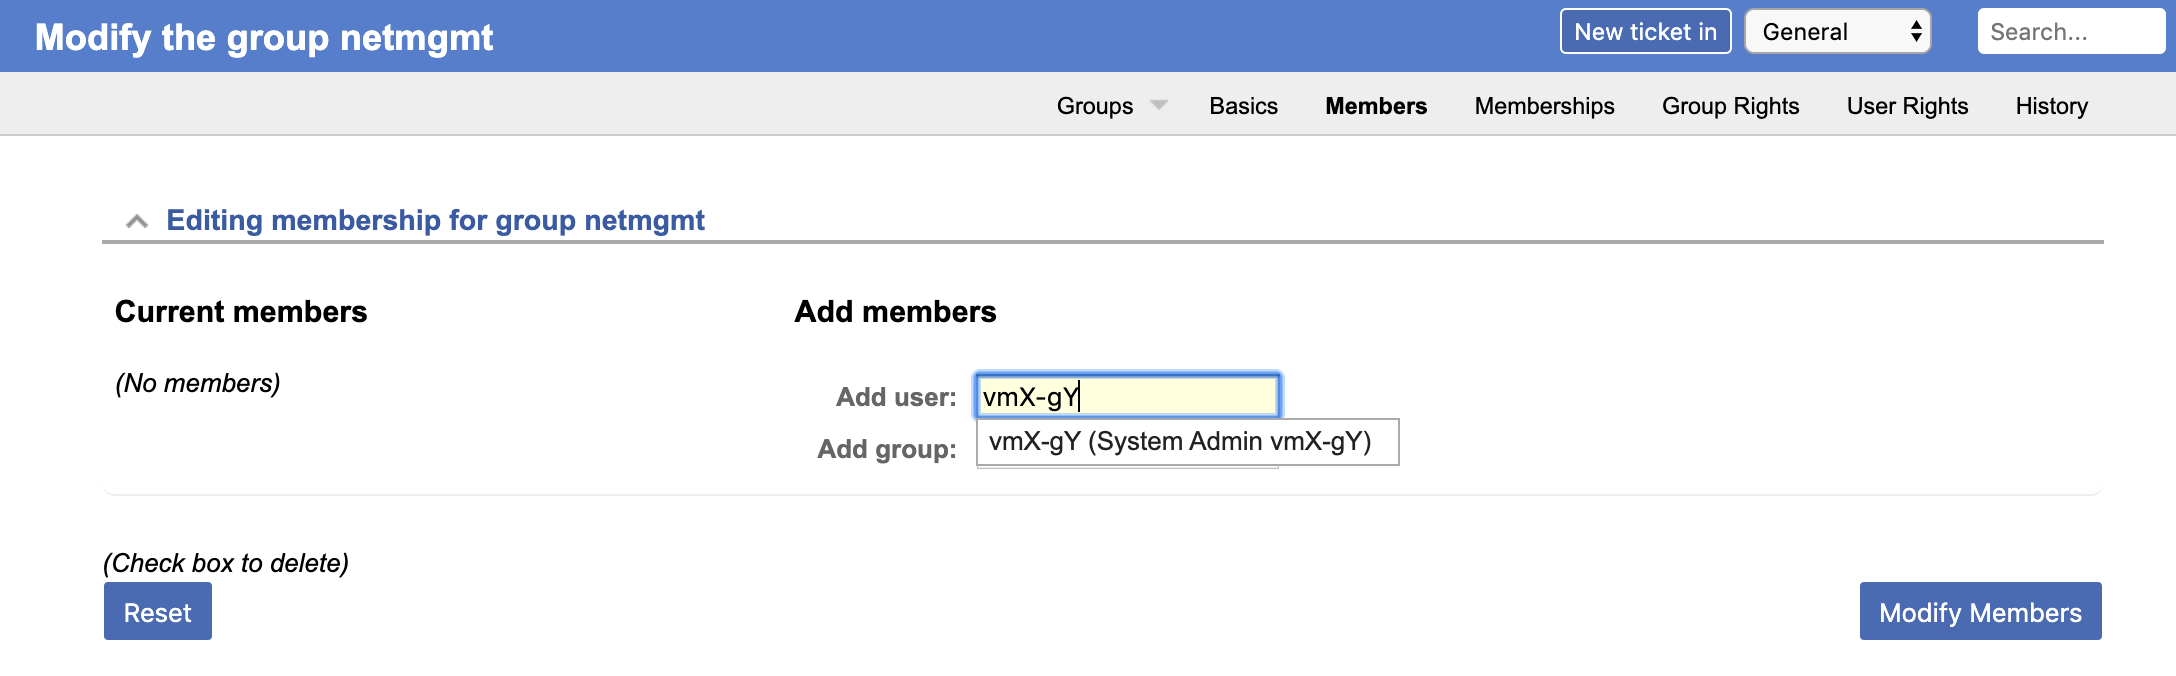
Click on Members (top menu)
In the Add user field (right), type in the name of one of the users you have created in step 3. This is the vmX-gY user. Then click on Modify Members (bottom right):
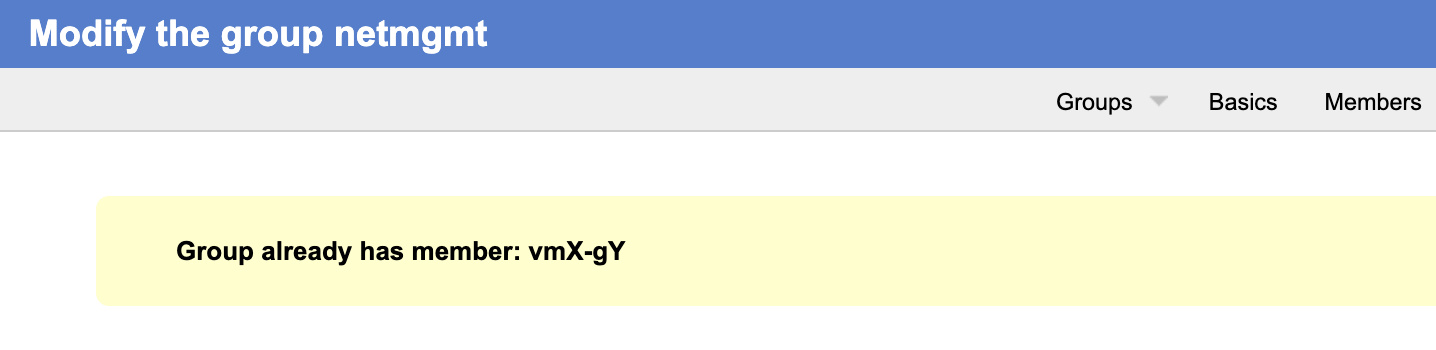
You should see this:
No repeat this for each member of your group until you have added all users.
(Only one person should do this)
At the top, choose the menu item Admin => Queues => Create

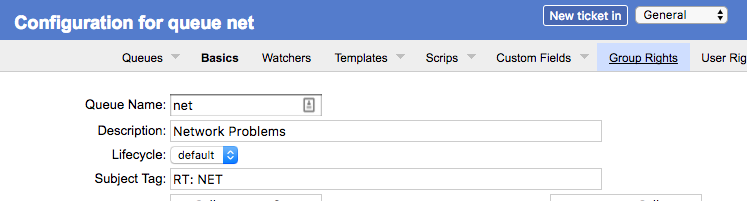
Fill in the fields. Let's use the following values and then click on Create:
netNetwork ProblemsRT: NETnet@srv1-gY.lab.workalaya.netnet-comment@srv1-gY.lab.workalaya.net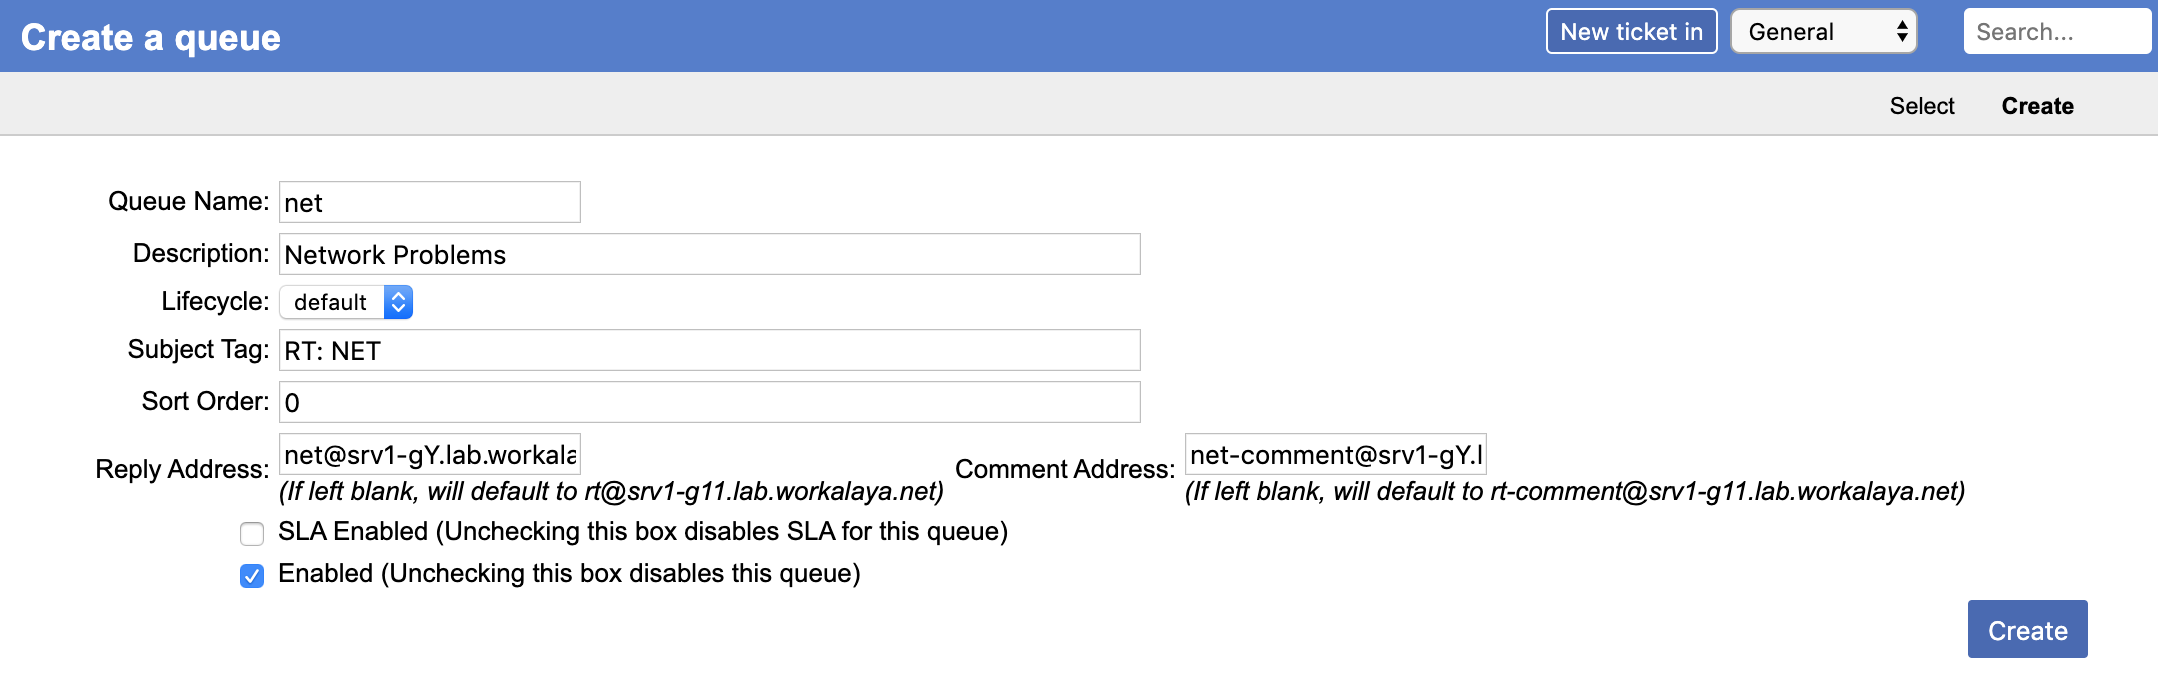
Note: Remember to replace "Y" with your group number.
You should see this:

(Only one person should do this)
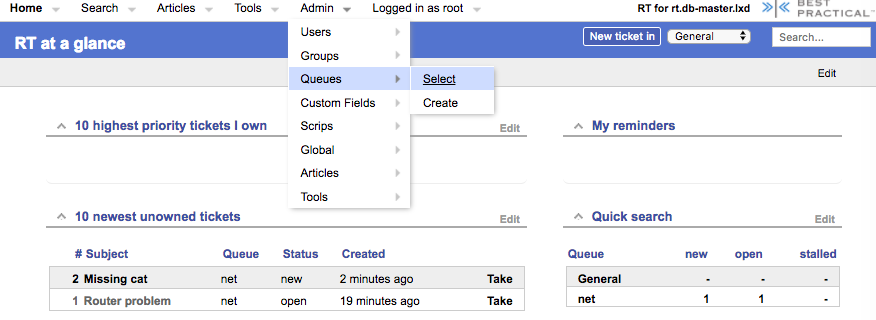
From the top menu, select Admin => Queues => Select
You should see:
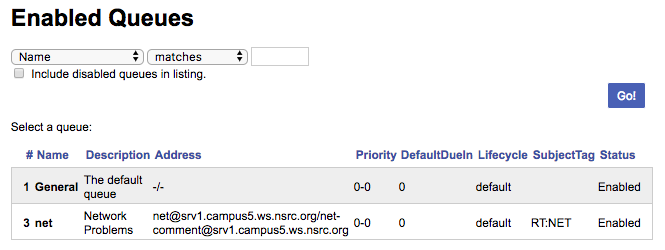
Click on net then choose Group Rights (top right)
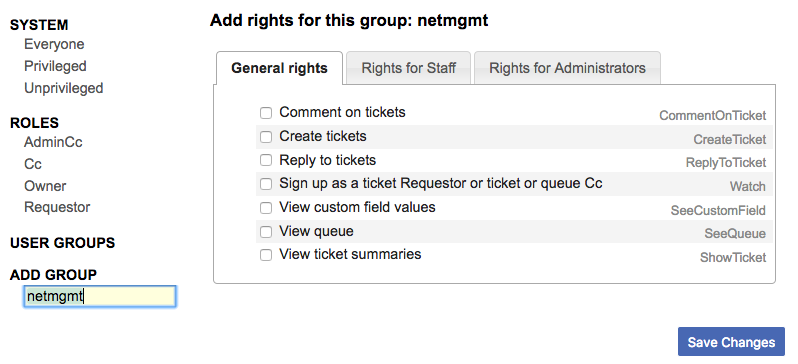
The following page should look like this:
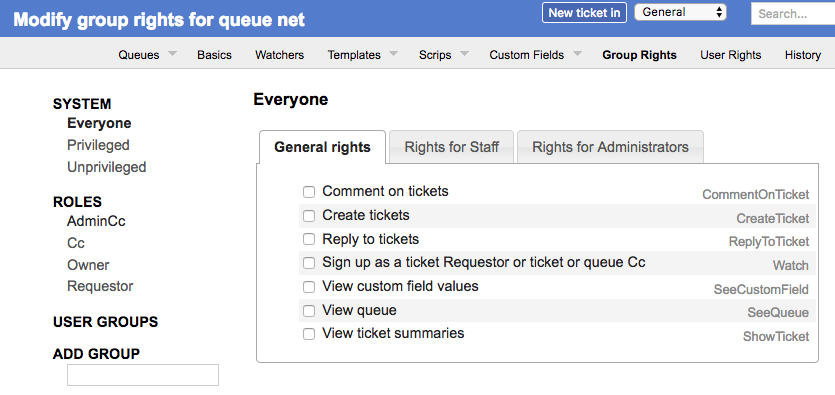
Note the three categories: General rights, Rights for Staff, Rights for Administrators
Here, we want to give Everyone (including people who are not yet known to RT) some privileges, but only the minimum required. These are found under General Rights, and are the following:
(CreateTicket)(ReplyToTicket)(SeeQueue)(ShowTicket)So start by selecting these 4 privileges by checking the 4 boxes in your browser.
Notice that Everyone on the left is already highlighted.
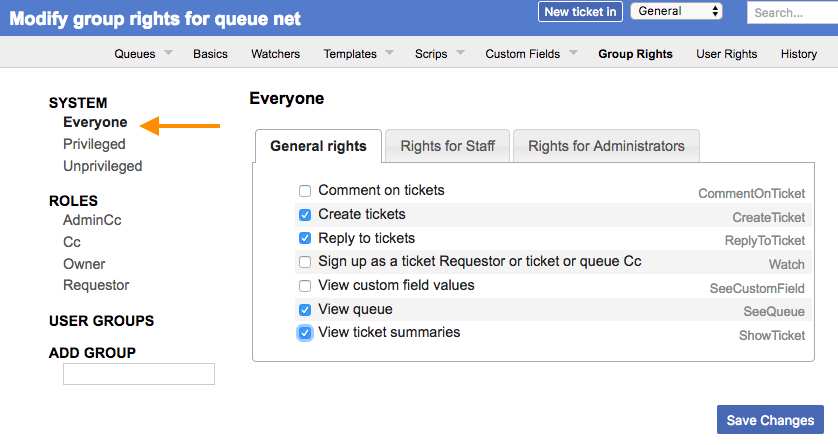
Now, click Save Changes (bottom right) to make sure the changes are applied.
Staying on the same page, we're going to now give the netmgmt Group all rights...
To do this, first type in the name of the group in the ADD GROUP field in the lower left:
Now check ALL the boxes in General Rights, Rights for Staff, Rights for Administrators.
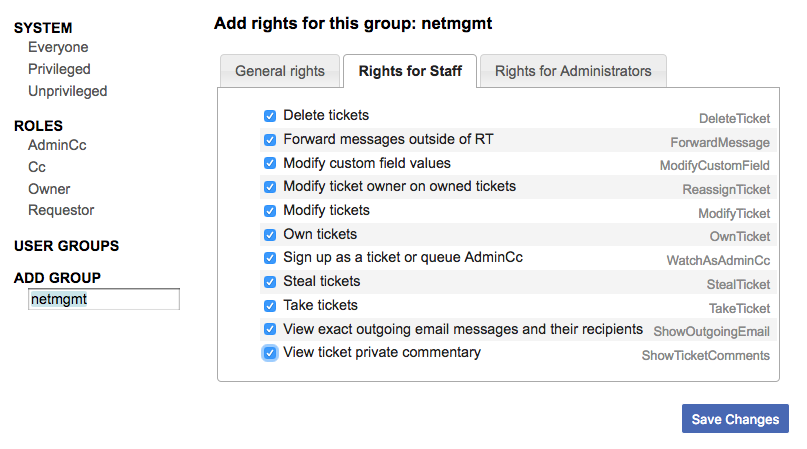
Once this is done, press the Save Changes button on the bottom right of the page. You should see:

(Everyone does this exercise)
Log out of RT (top menu, select the item Logged in as root => Logout)

Now log back in as the vmX-gY user you have created:
You should see the following:
At this point RT has been properly configured for initial operation. Now we must configure email properly to talk with our new net queue in RT.
(Only one person does this exercise)
RT will work with the MTA (Mail Transfer Agent) of your choice. In our case we are using Postfix configured to run as an MTA for an <<Internet Site>> - that is, to deliver email locally and remotely using SMTP.
First, we need to verify that the file /etc/mailname has the correct entry.
lab@srv1-gY:~$ sudo vi /etc/mailname
Be sure that the only entry in this file is:
srv1-gY.lab.workalaya.net
Where "Y" is your group number. Once you have updated the file or verified it is correct save your changes (if any) and exit from the file.
Next we will edit the file /etc/aliases
lab@srv1-gY:~$ sudo vi /etc/aliases
Add the following two lines at the end of the file (copy and paste!):
net-comment: "|/usr/bin/rt-mailgate --queue net --action comment --url http://localhost/rt/"
net:         "|/usr/bin/rt-mailgate --queue net --action correspond --url http://localhost/rt/"
Save the file and exit. Some editors might cause the above-lines to become multiple lines. Be sure that you only have two new lines in your /etc/aliases file after copying and pasting in the text above.
Now run the command:
lab@srv1-gY:~$ sudo newaliases
(Only one person does this)
Let's create an email and send it to the RT net queue. Do this as the lab user (not as root!):
If you are currently root:
root@srv1-gY:~# su - lab
lab@srv1-gY:~$ echo "Problem with my router" | mail -s "Router problem" net@srv1-gY.lab.workalaya.net
Remember to replace the "Y" in "groupY" with your group number.
If you get an error about mail not being installed, then do:
lab@srv1-gY:~$ sudo apt install mailutils
And run the "echo" command above again.
Now check that you have received email:
lab@srv1-gY:~$ mutt
You should see an email from Request Tracker acknowledging that your ticket has been created.
Select that email and press
The mail should say something similar to this:
    Date: Fri, 24 Feb 2017 00:21:19 +0000
    From: Network Problems via RT <net@srv1-gY.lab.workalaya.net>
    To: lab@srv1-gY.lab.workalaya.net
    Subject: [RT: NET #2] AutoReply: Router problem

    Greetings,

    This message has been automatically generated in response to the creation of a
    trouble ticket regarding Router problem, a summary of which appears below.

    There is no need to reply to this message right now. Your ticket has been
    assigned an ID of [RT: NET #2].

    Please include the string [RT: NET #2] in the subject line of all future
    correspondence about this issue. To do so, you may reply to this message.

    Thank you,
    net@srv1-gY.lab.workalaya.net

    ---------------------------------------------------------------------------

    Problem with my router
If, for some reason, you do not see mail try taking these steps, and then send the mail again:
lab@srv1-gY:~$ sudo touch /var/mail/lab
lab@srv1-gY:~$ sudo chown lab:mail /var/mail/lab
Once you read the mail press the "q" key twice to exit from mutt.
(Select one member of your group to do this. Everyone can see the ticket, but only one person should edit it at one time).
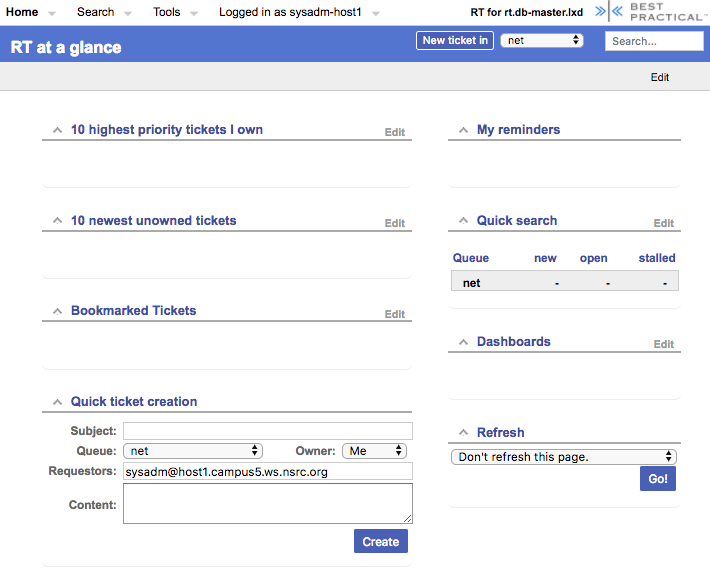
Go back to your web browser where you are logged in to RT as the vmX-gY user and click on the Home menu item (top left).
You should then be presented with an updated view with the current ticket:
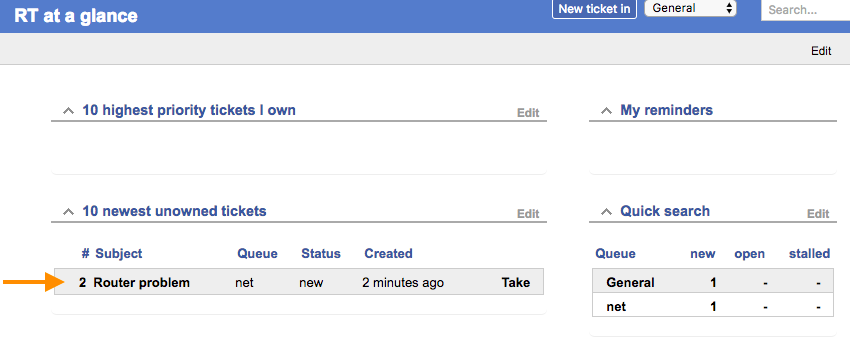
Now, click on the ticket subject.
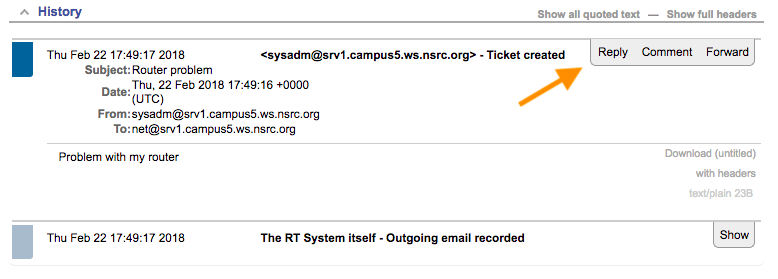
You will see many pieces of information about the ticket. Scroll to the bottom of the page.
Here you can Reply to the ticket:
Go ahead and type in a reply and then click on Update Ticket (bottom-right):
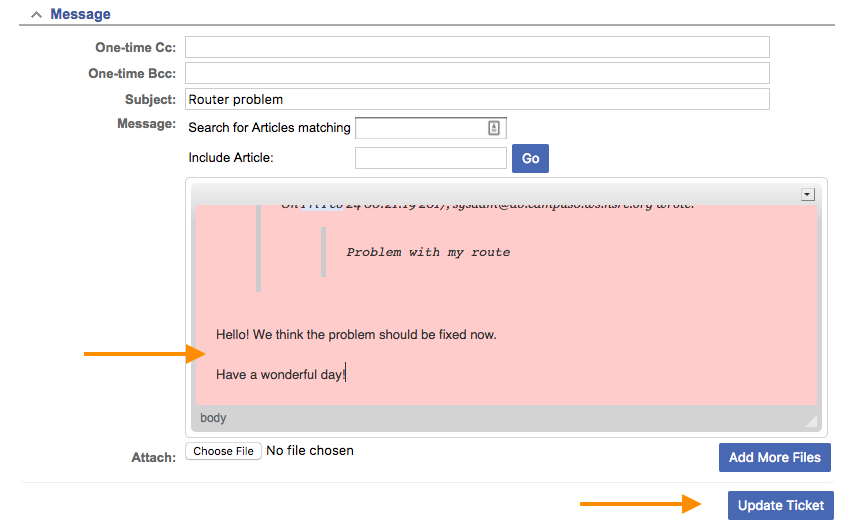
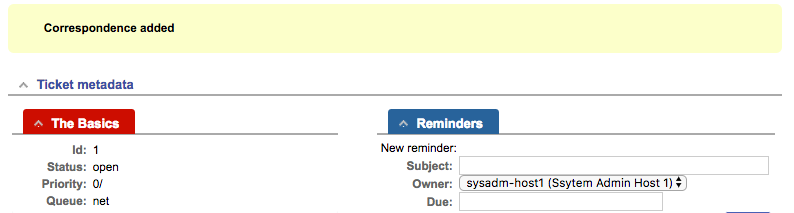
You should see this:
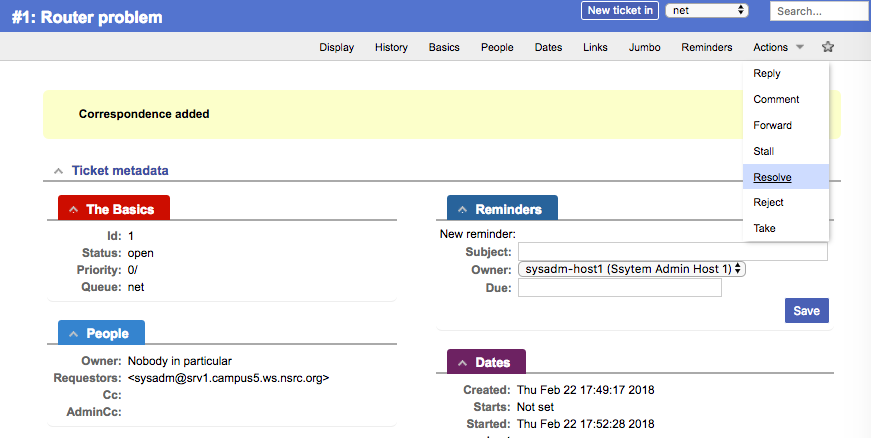
The ticket is still open. Let's resolve it using Actions => Resolve:
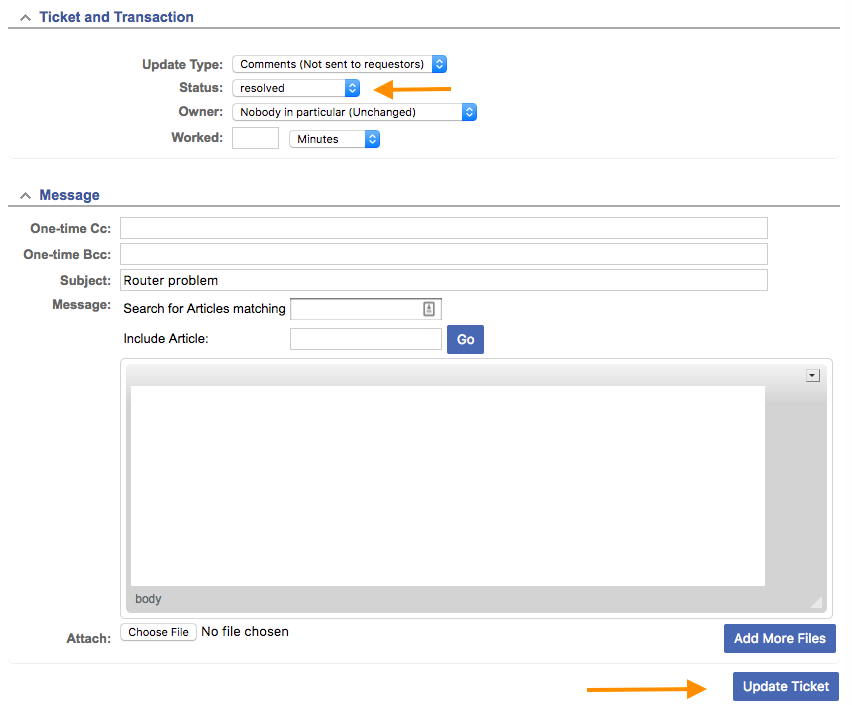
Click on "Update Ticket" at the bottom of the screen to finish resolving the ticket.
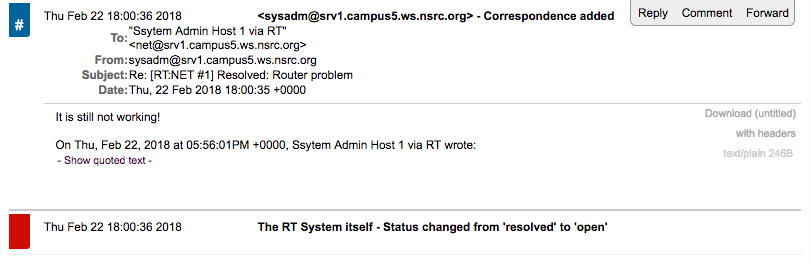
The ticket is currently Resolved but you can reopen the ticket via the RT web interface at any time, or if the original ticket creator (lab in this case) replies to the resolution email RT sent, then the ticket will be reopened.
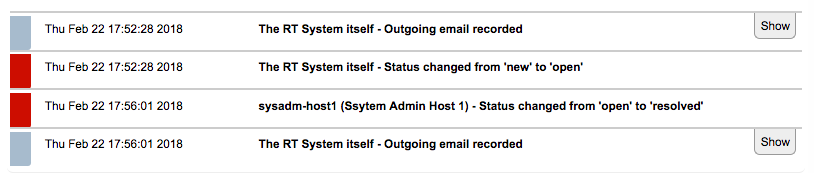
View the history at the bottom of the page to see that the ticket is currently resolved:
If you went back to your terminal session as the lab user and typed:
lab@srv1-gY:~$ mutt
and responded to the email generated from Request Tracker, then your ticket status will change. You can see this by reloading the RT web page for the ticket and viewing the history at the bottom of the page:
mutt, select the message you want to respond to using the arrow keysTo: System Admin via RT <net@srv1-gY.lab.workalaya.net> - Press ENTER to continueInclude message in reply? ([yes]/no): press ENTER to include the message.nano. Type in your response. We suggest to answer below the original message.:wq in vi, ctrl-x and <ENTER> in nano).y to send the message.q twice to exit Mutt at this point if you wish.If you go back to RT, select the Home you will see the ticket listed. Click on the ticket and scroll to the bottom of the history and you will see something like this:
You now have a functioning RT instance with email integration!
Try having users from the other hosts in your group send email to your RT ticket queue on the srv1 shared server.
Make sure they have configured their mail software (sudo apt install postfix then accept the defaults and be sure to set /etc/mailname to the correct value.)
Have the users ([vm1-6]-gY.lab.workalaya.net) send a mail to you, for example (from a host other than srv1-gY.lab.workalaya.net) do:
echo "Where is my cat ?" | mail -s "Missing cat" net@srv1-gY.lab.workalaya.net
This should automatically create tickets in the net queue on your server "srv1-gY" - verify that you do receive the tickets by checking in RT on your shared srv1-gY.lab.workalaya.net instance!
(Only one person should do this)
We are still missing an important feature: it's not practical to have to log into RT to check if tickets have arrived. It would be much more convenient if we received an email every time a problem request had been submitted, no?

Now to receive an email every time a request is submitted we're going to modify the Queue settings for net:
From the Queue page, select the net queue by clicking on its name, and you select the Watchers menu option at the top:

You should now see this:
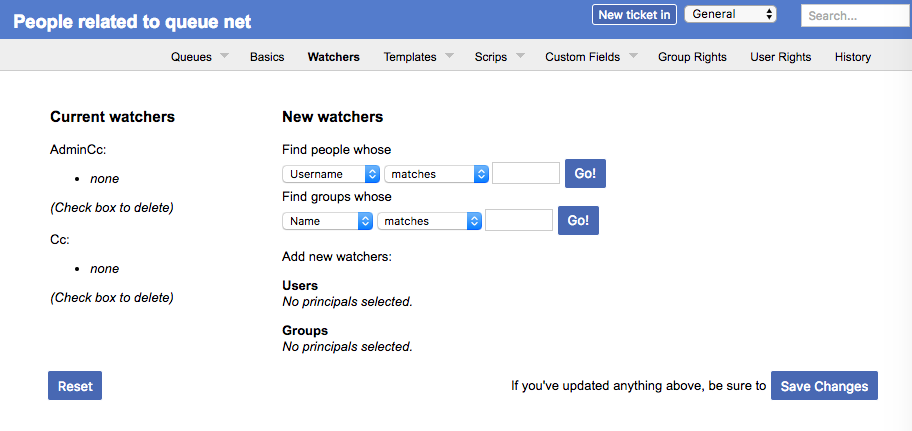
Under New watchers, enter the group name netmgmt in the field: find groups whose [name] [matches] as such: netmgmt
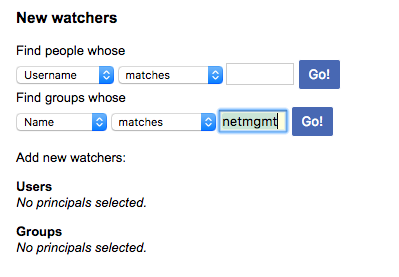
And click on Go!
RT will search for all groups matching netmgmt. Of course there is only one right now, which we created earlier. RT finds it and displays the following:

Notice how we select AdminCc from the pull down memu Groups next to netmgmt. Do this and click on Save Changes at the bottom right.
The result should look like this:

What does it mean ? Well, ask another user to send a mail to net@srv1-gY.lab.workalaya.net to create a ticket, like before, but this time everyone who is a member of the net queue should receive a mail from RT with the ticket notification.
You can test this by issuing this command as the lab user on srv1-gY.lab.workalaya.net:
$ echo "Yet more problems with my router" | mail -s "More Router Problems" net@srv1-gY.lab.workalaya.net
Remember to change "Y" to your group number.
Now log in to the other machines in your group and see if each lab user has received an email with this subject and text.
A bit later we will extend the use of RT by integrating it with other Network Monitoring software using the rt-mailgate facility that we have already configured in the /etc/aliases file.
(Anyone in the group can do this)
After a ticket has been resolved or closed may notice that it disappears from your Queue. Actually finding a closed ticket requires a few steps.
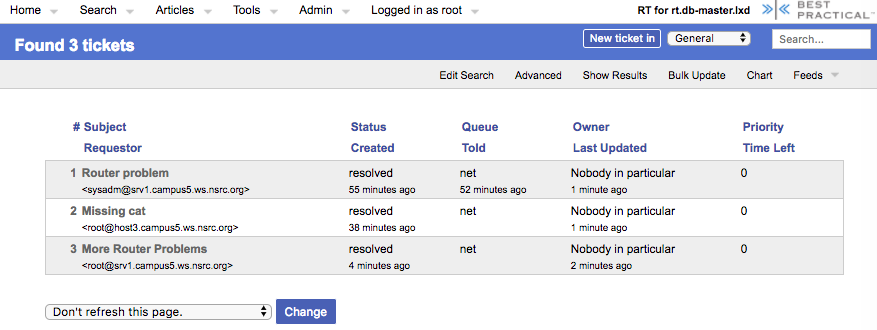
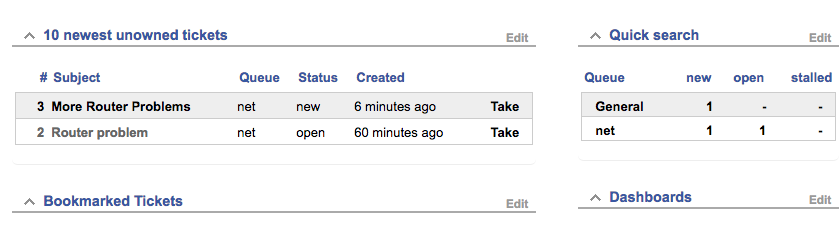
You would need to close one of the tickets in your net queue before this search will provide you with any results. Right now you should have two open tickets. In your RT screen click on "Home" (upper-right of the screen) and you should see something like this:
You should select one, or both, of these tickets and "resolve" them before continuing with this exercise (see previous exercises for resolving a ticket).
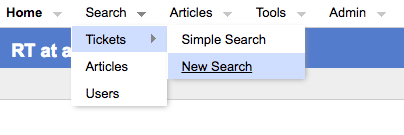
Now, click on Tickets => New Search on the top menu in RT:
and you will see a screen like this:
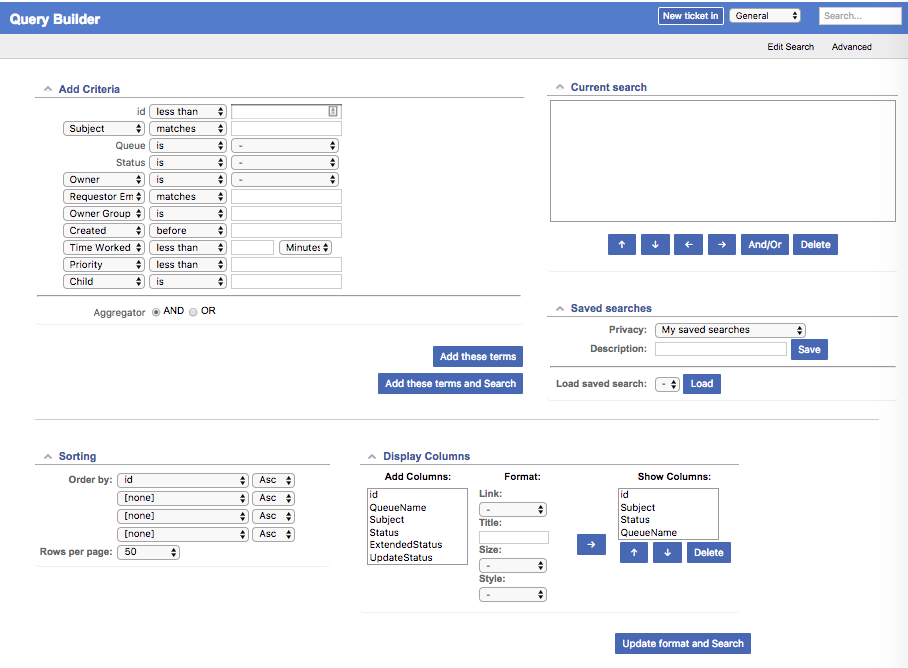
If you are going to search for items in a queue and there are already items in the <<Current search>> box, then you should delete the items from the <<Current search>> box first. Next in the <<Add Criteria>> box in the <<Queue>>" choice select the <<net>> queue from the drop-down menu (see below):
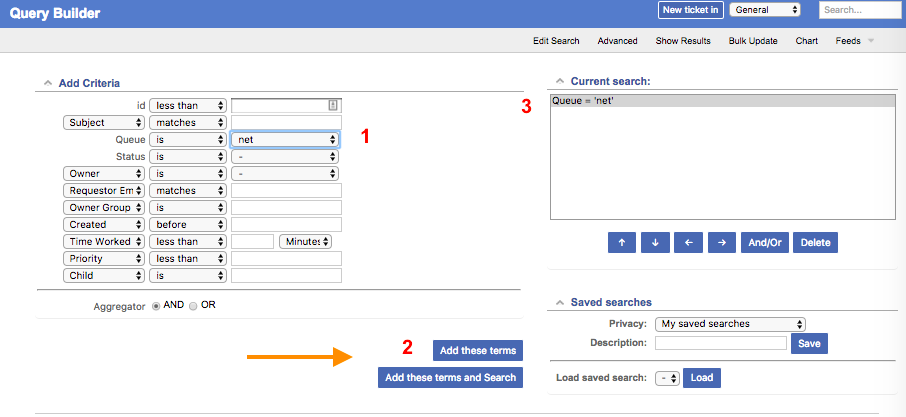
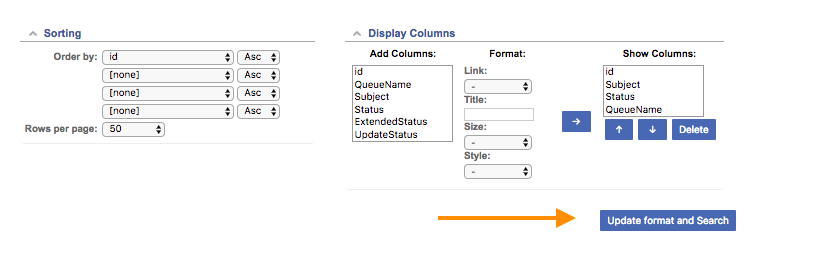
Click on <<Add these terms>> or <<Add these terms and Search>> - If you just do <<Add these terms>> then go to the bottom of the page and click on <<Update format and Search>> - RT will keep the search terms until you delete them at a later time.
And the results of your search will look something like this and you will be able to view tickets that have been closed, resolved, etc. Clearly there will be more tickets in the results over time: